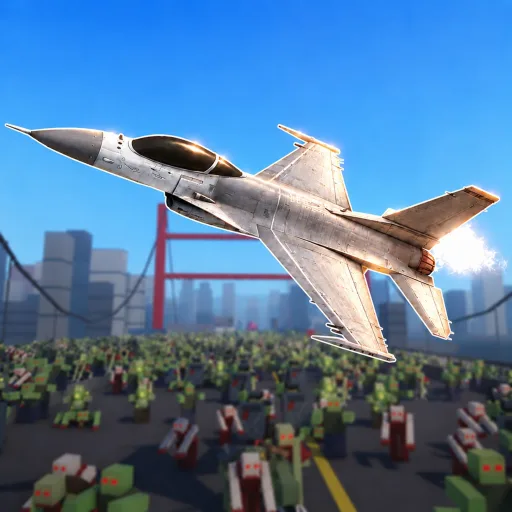
Zombie Air Force airport map guide: layout, defense positions, flight routes and wave strategies for holding the front line with your squad.
Zombie Air Force Airport Map: Layout & Defense Tips
The airport is a community-known Zombie Air Force map, confirmed by the fan wiki's dedicated airport page. Treat the open runway tarmac as a killing field, keep ground defenses on the terminal-side choke points, and use the air corridors over the field for continuous attack runs.
- Map identity — airport appears in player search behavior and on the fan wiki's map pages; the full official map list is unconfirmed
- Terrain logic — wide runways favor chain gun passes; terminal structures favor defense drops
- Squad split — ground crew holds the structures, pilots own the open field
- Meta caveat — the game is in Alpha, so map layouts can change with updates
Why the Airport Map Plays Differently
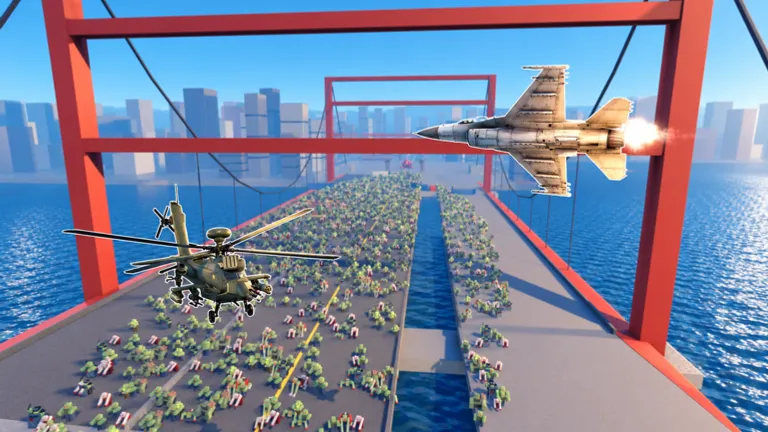
Every map in Zombie Air Force shares the same core loop — fly, clear waves from the air, drop ground defenses, push the front line — but terrain decides how that loop executes. The airport archetype is the open-terrain case: long sightlines across runways, few buildings to hide spawns behind, and zombie flows that come at you across ground your chain guns can sweep. Open maps reward aggressive flying because you see threats early; they punish sloppy defense placement because there is nothing natural funneling zombies into your turrets.
Official source: Zombie Air Force on Roblox — the developer description confirms the loop of air combat, deployable defenses and pushing the front line through every season.
One honesty note before the tactics: Zombie Air Force does not publish map data. There is no official map list, no spawn point data, and no per-map Credit rates. The airport's status comes from community sources — the zombieairforce.wiki runs an airport page, and "zombie air force airport" is a real player search term. Layout advice below is built on how open-terrain maps behave in this game's confirmed systems, not on leaked internals.
Ground Defense Placement
Deployable defenses are one of the game's four confirmed weapon categories, and placement is the single biggest skill gap on airport-style terrain. The general rules that transfer across open maps:
| Position | Why it works | Common mistake |
|---|---|---|
| Terminal / building edges | Structures naturally funnel zombies into choke points | Placing turrets in the open where they get flanked |
| Runway midpoints | Covers the longest zombie approach lanes | Stacking every turret on one runway |
| Near the spawn-side perimeter | Kills adds before they build momentum | Ignoring the far side until it overflows |
| Behind your re-arm path | Protects the route pilots use between runs | Leaving the flight path exposed |
Defenses are not permanent. They are a resource you spend mid-wave, so budget Credits for re-drops instead of saving for one expensive upgrade — the credits guide covers how the dual economy funds that habit. On open terrain the failure state is predictable: turrets concentrated on one flank, swarm wraps around, rear line collapses while every pilot is still strafing the same runway.
Re-place defenses on cooldown during heavy waves rather than setting up once at wave start. On airport terrain, the zombie flow shifts between lanes wave to wave; a static defense line dies to the second or third push.
Flight Routes and Air Attack Patterns
Flying the airport means using the open field, and open fields make you visible. Route discipline separates pilots who survive whole waves from pilots who feed:
- Sweep the long axis. Run chain gun passes down runway lanes where zombie clusters move in the open — this is the chain gun's best-case terrain.
- Break off before the terminal. Tight structures are where Behemoths and dense spawns live; those are rocket and air strike targets, not strafing targets.
- Loop wide, not tight. Bank turns over empty tarmac so you always have an escape vector when a group spawns behind you.
- Coordinate overlapping orbits. Two pilots running opposite-direction sweeps cover more ground than a pair tailing each other.
The four confirmed weapon categories split cleanly by terrain: chain guns own the open runway sweeps, rockets and air strikes handle the packed spawns near structures, and deployed defenses hold the ground between your passes. Our waves guide explains the target priority that decides which tool comes out when.
Squad Roles on a Full Server
Servers hold up to 10 players (confirmed via the official games API). A workable airport split for a near-full lobby:
| Role | Count | Focus |
|---|---|---|
| Runway sweepers | 3-4 | Chain guns, open-field clears |
| Strike pilots | 2-3 | Rockets and air strikes on dense spawns and bosses |
| Ground crew | 2-3 | Defense drops, terminal holds |
| Flex | 1 | Rotates to the failing flank |
Ground crew is the role new servers always lack. On airport terrain it matters even more, because there is no terrain doing your defense work for you — every safe choke is one you built with a turret drop. If you are the low-XP pilot in the lobby, ground crew is a legitimate early job: it earns kills, it teaches the wave flow, and it does not require an upgraded aircraft. The zombieairforceguide.wiki beginner coverage lands on the same advice for fresh servers.
Airport waves also throw boss-tier threats. Behemoths are confirmed in the official description, and the Behemoth guide covers the role split that keeps a boss fight from eating your whole wave defense.
Wave Progression and the Front Line
The long-term structure of Zombie Air Force is seasonal front line progression — the official description tells players to push the front line through every season. Maps like the airport are where that push happens wave by wave, and the loop is the same regardless of terrain: clear the wave, keep defenses alive, bank Credits between waves for upgrades.
Practical rhythm for an airport session:
- Early waves — sweep aggressively, bank Credits, place the first defensive anchors at terminal edges.
- Mid waves — re-drop defenses every cycle, shift strike pilots onto whatever lane is flooding.
- Boss waves — clear adds first, then funnel the Behemoth over your turret line instead of chasing it across the field.
- Between waves — spend Credits on rocket and air strike upgrades; open maps scale harder with burst damage than with chain gun sustain.
Weekend sessions pay double — the developer description confirms a weekend x2 buff — which makes airport farming on Saturday and Sunday the most efficient Credits-per-hour window in the current Alpha build.
FAQ
Is the airport a confirmed map in Zombie Air Force?
Yes as community-confirmed content, no as official documentation. The airport appears on the zombieairforce.wiki fan map pages and is a genuine player search term, but the developer publishes no official map roster. It exists; its detailed spawn data does not, publicly.
Where should I place defenses on the airport map?
At structure edges and runway midpoints — anywhere zombies get funneled into a lane your turret covers. Avoid open-tarmac placements that get flanked, and keep at least one turret anchoring your re-arm path. Budget Credits to re-drop during the wave instead of setting up once.
What is the best aircraft for airport-style maps?
Chain-gun-heavy aircraft excel at runway sweeps, while rocket and air strike loadouts handle the dense spawns near terminals. The fan wiki and Apache gameplay footage support a balanced loadout; the full aircraft roster and unlock conditions are unconfirmed, so check the aircraft guide for what is actually verified.
Do Behemoths spawn on the airport map?
Bosses are confirmed as a game feature in the official description, but no source publishes per-map Behemoth spawn tables. Assume any map can throw one at you and keep the squad's role split ready — the Behemoth guide covers it.
Can I solo the airport map?
Server capacity is 10 players and the game is designed around squad play — ground defenses plus air strikes cover more lanes than one pilot can. Solo is possible on early waves with defensive upgrades, but Alpha balance and unconfirmed spawn rates make it unreliable past the opening cycles.
Related Guides
- Zombie Air Force waves guide — the wave mechanics every airport defense strategy runs on.
- Zombie Air Force beginner guide — the first-day plan that ends with you holding a map like this.
- Zombie Air Force Behemoth guide — what to do when a boss shows up mid-wave on open terrain.
- Zombie Air Force credits guide — funding the defense re-drops that airport maps demand.
More Zombie Air Force Guides
Zombie Air Force tier list ranking aircraft and weapons by wave clear, boss damage and co-op value, with picks for every playstyle in Roblox.
Zombie Air Force has 180+ upgrades across rockets, chain guns, air strikes and defenses. Here is how the upgrade tree works and what to buy first.
How waves work in Zombie Air Force and how to survive them: target priority, defense placement, resource discipline and squad coordination.