
All seven Undertale Adventures X areas in order, with the Act structure, Neutral and Genocide routes, area damage bonuses and the Corridor boss gimmicks.
Undertale Adventures X Zones and Acts
Undertale Adventures X has seven areas in a fixed order, and each one runs Acts 1 through 6 with a difficulty curve from one star to five. Every area also splits into a Neutral and a Genocide route, which changes both the difficulty and the rewards.
- Order — Lobby, Ruins, Snowdin, Waterfall, Hotland, CORE, The Judgement Hall
- Acts — six per area
- Routes — Neutral and Genocide on every area
- Difficulty — ★☆☆☆☆ to ★★★★★
- Payout — 50 Souls, 5 Underpass XP, 10 Gold per Act
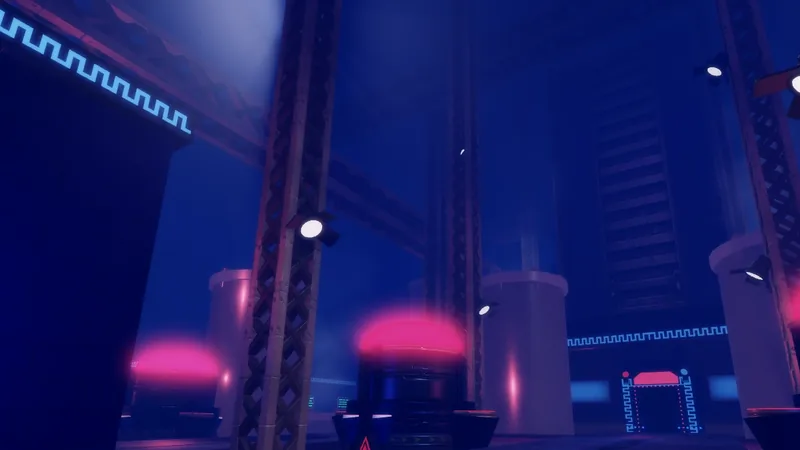
The Area Order
The world map lists seven locations. Six are playable areas; the Lobby is the hub.
| # | Area | Position | Notes |
|---|---|---|---|
| — | Lobby | Hub | Ten facilities, no combat |
| 1 | Ruins | First | Easiest area, 100 XP per Act |
| 2 | Snowdin | Second | 150 XP per Act |
| 3 | Waterfall | Third | 150 XP per Act |
| 4 | Hotland | Fourth | 150 XP per Act, fire-focused bonus |
| 5 | CORE | Fifth | 150 XP per Act, magic-focused bonus |
| 6 | The Judgement Hall (Corridor) | Final | 75 Souls per Act, boss gimmicks |
Each area page on the community wiki states its position explicitly — "Snowdin is the second map of the game," "Waterfall is the third map" — which is the most reliable ordering available.
How Acts Work
Every area has Acts 1 through 6 on each route. The difficulty rating rises across them:
- Act 1 — ★☆☆☆☆
- Act 2 — ★★☆☆☆
- Act 3 — ★★★☆☆
- Act 4 — ★★★☆☆
- Act 5 — ★★★★☆
- Act 6 — ★★★★★
The reward bundle stays constant within an area, but the item drop chance scales with Act number. In Ruins, Act 1 has a 2% chance at Spider Donut and Cinnamon Bunny; Act 6 has 10% at both. That means Act 6 is always the best farm in an area you can clear.
Neutral versus Genocide
Every area page splits its tabs into Neutral and Genocide. The route changes the encounter design and the rewards, but not the base Soul payout in most areas.
The clearest documented difference is in the Corridor, the final area. The wiki describes the Genocide route as having an extra mechanic: Gaster Blasters periodically spawn two units that stun two of your towers for three seconds, targeting the highest DPS within 75 studs. Neutral does not have that.
For a new player, the rule is: clear Neutral first. Genocide routes are harder and their unique rewards are usually Units that a beginner team cannot field yet.
Area Bonuses
Each area applies damage modifiers, which is why the same team performs differently in different zones. The community wiki lists these at the top of each area page.
The complete, legible bonuses:
Hotland
- +25% [Fire] Secondary Type Damage
- +100% [Hotland] Category Damage
CORE
- +10% [Magic] Primary Type Damage
- -70% [Bleed] Secondary Type Damage (Neutral exclusive)
- +30% [CORE] Category Damage
- +10% [Joined Forces] Category Damage (Neutral exclusive)
- +20% [Gunslinger] Category Damage (Neutral exclusive)
- +25% [Explosive] Secondary Type Damage (Genocide exclusive)
Ruins, Snowdin and Waterfall each list a secondary-type bonus and a category bonus as well, but the wiki's source text truncates the category values, so this page does not print numbers it cannot read reliably.
The practical takeaway is the design intent: each area rewards a damage category and penalises or ignores others. A team built around magic damage will feel weak in Hotland and strong in CORE. That is not a bug; it is the area telling you to rotate your roster.
An A-tier Unit of the wrong damage category can underperform a B-tier Unit of the right one. Check the area bonus before you blame your team.
The Judgement Hall: The Final Area
The Corridor is the only area with published boss mechanics, and they are worth knowing before you walk in.
Dodge. Sans dodges every attack, and damage over time effects do not affect him. After dodging a certain number of attacks, he teleports back to the beginning of the path. This is the mechanic that invalidates DoT builds.
Gaster Blaster Enemies. Periodically summoned anywhere on the path except the beginning. They shoot at the base on a timer, dealing 200 damage per shot.
Gaster Blasters (Genocide only). Periodically summons two blasters that stun two Units for three seconds, targeting the highest DPS within 75 studs.
Dust Sans (Corridor). On Genocide, killing the Sans boss has a 10% chance to spawn Dust Sans. Killing that spawn removes the dodge mechanic and grants the Unit.
That last line is the most important piece of strategy in the game: the Genocide route gives you a 10% shot at a Unit that turns off the boss's central defence. It is also why the Units list files Dust Sans (Corridor) as a boss drop rather than a summon.
What Each Area Drops
The item pools are area-themed and are the passive source of evolution and upgrade materials.
- Ruins — Spider Donut, Cinnamon Bunny
- Snowdin — Hot Dog, Nice Cream
- Waterfall — Astronaut Food, Ketchup, Sea Tea
- Hotland — Spider Cider, Glamburger
- CORE — Starfait, Face Steak
- Corridor — Sans at a 10% rate
Because the chance scales with Act number, the item economy rewards pushing to Act 6 in whatever area you are farming. That conflicts with the speed advice in the Souls guide, which says to farm the fastest Act. The resolution is to split the two goals: farm Souls on your fastest Act, and push to Act 6 once per session for the drop pool.
A Suggested Clear Order
For a first playthrough:
- Ruins, Neutral, Acts 1–6. Learn the combat with the cheapest Units.
- Snowdin, Neutral, Acts 1–4. Stop when a clear stops being reliable.
- Farm Ruins Act 6 until you can summon twice.
- Waterfall, Neutral. The area introduces Water-typed bonuses, which change which Units feel strong.
- Hotland and CORE. These two are the area-bonus test; expect your team to need a different damage type.
- Corridor, Neutral. Learn the dodge mechanic before you attempt Genocide.
- Corridor, Genocide. Only with a burst team and no reliance on damage over time.
The raids and Gauntlet page covers the side content that sits between these steps.
Sources and Further Reading
- The CORE bonuses quoted here: the community wiki's CORE page
- The code status and redeem steps: Eurogamer's Undertale Adventures X code page
Official source: Undertale Adventures X on Roblox — the official description confirms that players defend a base from monsters using Undertale units.
Frequently Asked Questions
How many areas are in Undertale Adventures X? Six playable areas plus the lobby: Ruins, Snowdin, Waterfall, Hotland, CORE and The Judgement Hall.
How many Acts per area? Six per area, on each of two routes.
What is the difference between Neutral and Genocide? Genocide is harder and adds mechanics — the Corridor's Gaster Blasters are Genocide-only — and it has unique Unit drops.
Which area should I farm? The fastest reliable Act for Souls, and Act 6 of any cleared area for item drops.
Why does my team feel weaker in Hotland? Each area applies damage-category bonuses. Hotland boosts Fire and Hotland-category damage, so other damage types underperform there.
Can I skip an area? No. The area order is fixed, and Acts unlock sequentially within each area.
More Undertale Adventures X Guides
How traits work in Undertale Adventures X: where to roll them, which roles want which buffs, when to reroll and how codes hand you free rerolls.
Every Undertale Adventures X unit we could verify, sorted into all six rarity tiers from Common to Secret, plus how summoning and duplicates work.
Undertale Adventures TD is now Undertale Adventures X. What the rename means for old codes, guides and searches, and what is actually confirmed.